How to Set Up a DIY Crypto Hardware Wallet
Introduction to Crypto Hardware Wallets
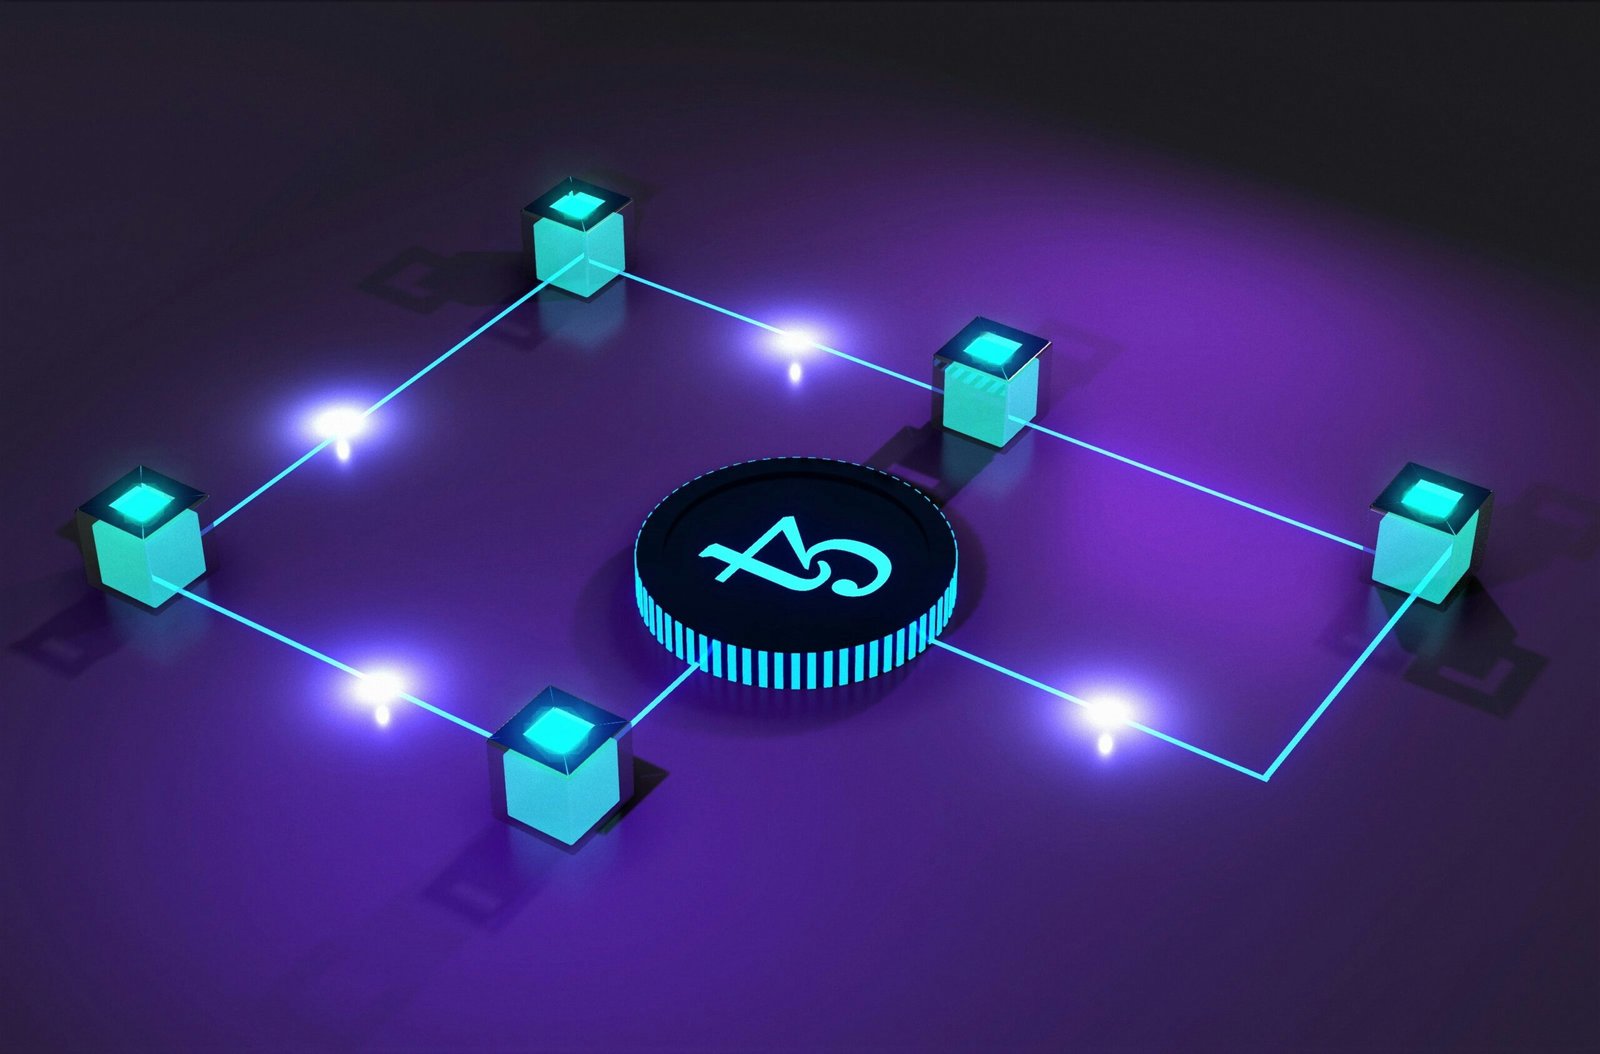
Cryptocurrency has revolutionized the financial landscape, offering unprecedented levels of autonomy and privacy. However, with great power comes great responsibility, particularly in the realm of security. This is where crypto hardware wallets come into play. A crypto hardware wallet is a physical device designed to securely store private keys, which are essential for accessing and managing cryptocurrency assets. Unlike software or paper wallets, hardware wallets provide an added layer of security by keeping private keys offline, reducing the risk of cyberattacks.
The primary advantage of using a hardware wallet is its robust security features. Since the wallet operates in an isolated environment, it is impervious to malware and viruses that could compromise software wallets. Furthermore, hardware wallets often come with additional security measures such as PIN codes, biometric authentication, and recovery phrases, ensuring that even if the physical device is lost or stolen, the assets remain secure.
Another key benefit is the enhanced privacy offered by hardware wallets. Transactions are signed within the device itself, which means that private keys never leave the hardware wallet. This minimizes the exposure of sensitive information, safeguarding users against potential breaches. Additionally, many hardware wallets support multiple cryptocurrencies, making them a versatile tool for managing diverse portfolios.
In the context of cryptocurrency, where the responsibility for security lies entirely with the user, employing a hardware wallet is not just advisable but essential. The decentralized nature of cryptocurrency means that there is no central authority to turn to in the event of theft or loss. Therefore, taking proactive measures to secure one’s assets is crucial.
Overall, crypto hardware wallets represent a vital tool for anyone serious about safeguarding their digital assets. By combining advanced security features with an easy-to-use interface, these devices offer peace of mind in a rapidly evolving digital landscape.
Choosing the Right Hardware Components
When setting up a DIY crypto hardware wallet, selecting the appropriate hardware components is a crucial step to ensure the security and functionality of your device. The key components required for building a DIY crypto hardware wallet include microcontrollers, secure elements, screens, buttons, and other necessary peripherals.
Microcontrollers such as the Arduino or Raspberry Pi are the backbone of your DIY crypto hardware wallet. These devices are chosen for their versatility, ease of use, and extensive community support. The Raspberry Pi, for instance, offers a robust processing power and connectivity options, making it ideal for more advanced projects. On the other hand, the Arduino is known for its simplicity and real-time processing capabilities, which can be beneficial for straightforward, secure applications.
Incorporating a secure element like the ATECC608A significantly enhances the security of your crypto hardware wallet. Secure elements are specialized chips designed to provide cryptographic functions and secure key storage. The ATECC608A, for example, offers advanced security features such as hardware-based key generation, secure key storage, and cryptographic operations, ensuring that your private keys remain secure from potential threats.
A display screen is another essential component for your hardware wallet. An OLED or LCD screen can provide a user-friendly interface to display transaction details, wallet addresses, and other crucial information. This allows users to verify transaction data directly on the device, adding an extra layer of security by preventing potential man-in-the-middle attacks.
Buttons are also fundamental to the operation of your crypto hardware wallet. They allow the user to navigate through the device’s menu, confirm transactions, and input data securely. Simple push buttons or capacitive touch buttons can be integrated based on the design and user preference.
Other peripherals such as USB connectors, battery packs, and enclosures are also necessary to complete the build. USB connectors facilitate communication between the wallet and a computer, while battery packs offer portability and uninterrupted power supply. Enclosures protect the internal components from physical damage and provide a compact, user-friendly design.
By carefully selecting and integrating these components, you can build a robust and secure DIY crypto hardware wallet tailored to your specific needs. Each component plays a vital role in ensuring the overall security, compatibility, and ease of use of the device, providing a reliable solution for safeguarding your cryptocurrency assets.
Installing and Configuring the Software
Setting up a DIY crypto hardware wallet begins with the installation and configuration of the necessary software on your chosen hardware. This process typically involves installing an operating system, firmware, and any additional libraries or drivers required for the wallet to function securely and efficiently.
First, select an appropriate operating system for your hardware. Many enthusiasts opt for lightweight Linux distributions such as Ubuntu or Raspbian, which are known for their stability and security. Download the ISO file of your chosen distribution and create a bootable USB drive using software like Rufus or Etcher. Insert the USB drive into your hardware and follow the on-screen instructions to install the operating system.
Once the operating system is installed, the next step is to install the firmware specific to your DIY crypto hardware wallet. Firmware is essential as it controls the device’s operations and ensures secure handling of your crypto assets. Download the latest version of the firmware from the official website of the wallet you are configuring. Follow the provided instructions to flash the firmware onto your hardware. This typically involves using terminal commands or a graphical user interface tool provided by the wallet developer.
In addition to the firmware, you might need to install specific libraries or drivers to ensure full compatibility and functionality. For example, if your wallet uses a specific type of hardware like a microcontroller or a secure element, you may need to install corresponding drivers. These drivers can usually be found on the manufacturer’s website or within the documentation provided by the wallet developer. Follow the installation instructions carefully to avoid any issues.
During the installation process, you may encounter common issues such as driver incompatibilities, missing dependencies, or hardware recognition problems. To mitigate these pitfalls, ensure that you are using the latest versions of all software components and refer to the troubleshooting guides provided by the wallet’s developers. Community forums and user groups can also be valuable resources for resolving specific issues.
By methodically installing and configuring the required software, you lay the foundation for a secure and functional DIY crypto hardware wallet. Each step is crucial in ensuring the safety and reliability of your cryptocurrency holdings, paving the way for a seamless user experience.
Creating the Wallet and Generating Keys
Setting up a DIY crypto hardware wallet involves a critical step: generating the wallet and creating cryptographic keys. The integrity and security of your crypto assets hinge on this process. Cryptographic keys consist of a public key, which you can share with others to receive funds, and a private key, which must be kept secure and confidential to authorize transactions. Mismanagement or exposure of your private key can lead to irreversible loss of funds.
To begin, you will need software tools capable of generating cryptographic keys. Popular choices include Electrum, MyEtherWallet, and Bitaddress.org. These tools offer user-friendly interfaces and robust security features. It is recommended to perform the key generation process on an offline computer to minimize the risk of cyber threats. Disconnect your device from the internet before starting the key generation process.
Using Electrum as an example, you would first download and install the software. Once installed, select the option to create a new wallet. Electrum will guide you through generating a new seed phrase, a sequence of 12 or 24 words that can be used to recover your private key. Write this seed phrase down on paper and store it in a secure location, away from any digital devices. Never save your seed phrase or private key in digital format or on cloud storage.
After securing your seed phrase, Electrum will generate your public and private keys. The public key can be shared for receiving cryptocurrency, while the private key must be kept secret. It is advisable to create multiple copies of your seed phrase and store them in separate, secure locations. This redundancy ensures you can recover your keys even in the event of physical loss or damage.
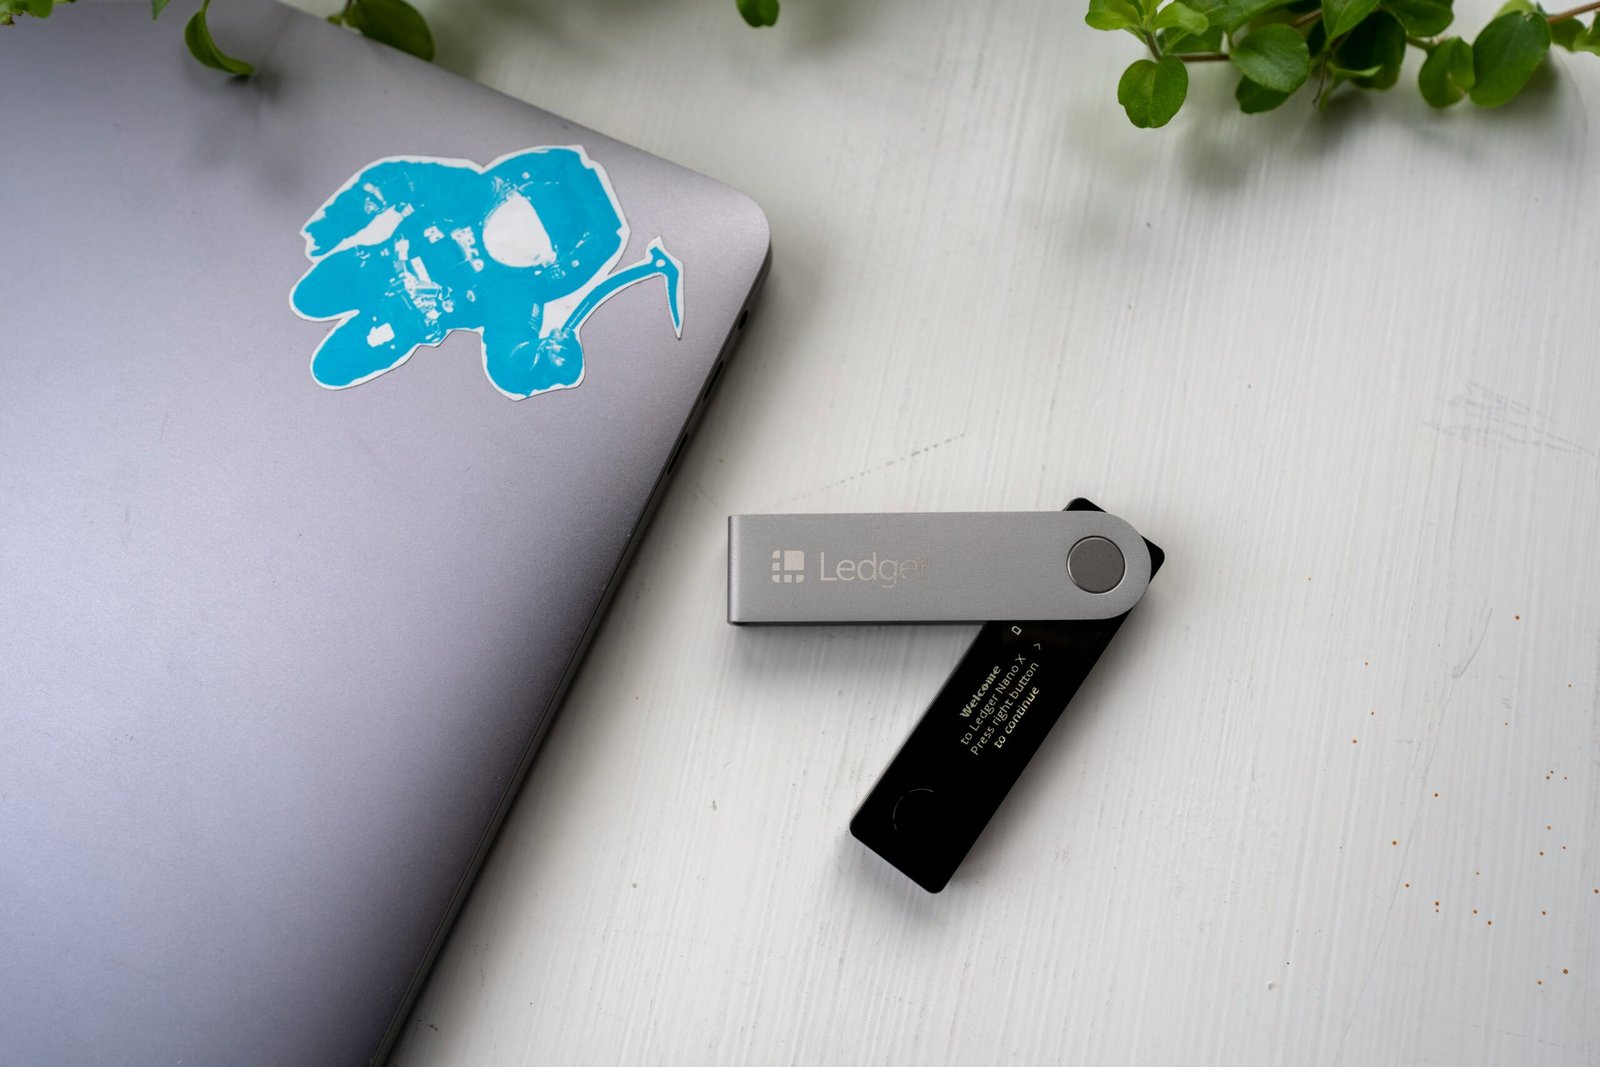
For enhanced security, consider using a hardware wallet like Trezor or Ledger in conjunction with your DIY setup. These devices store your private keys offline and require physical confirmation for transactions, adding an extra layer of protection.
By following these steps and adhering to best practices for key generation and storage, you can significantly reduce the risk of compromising your crypto assets.
Setting Up User Interface and Controls
Configuring the user interface for your DIY crypto hardware wallet is a pivotal step in ensuring both usability and security. A well-designed interface facilitates seamless interactions, making it easier for users to manage their cryptocurrency assets. This section will detail the key elements involved in setting up the screen display and input methods, along with best practices for creating an intuitive experience.
Firstly, the screen is a critical component of the user interface. It should be clear and readable, even in various lighting conditions. Consider using an OLED or LCD screen, as these types offer high contrast and visibility. The screen should display essential information such as transaction details, balance, and menu options. It’s advisable to use a hierarchical menu system, whereby users can easily navigate through different sections without confusion. For instance, the main screen could show the balance, with options to view transaction history or initiate a new transaction.
Next, setting up input methods is crucial for user interaction. The most common input methods include buttons, touchscreens, or rotary encoders. Each method has its own set of advantages. Buttons are simple and reliable, making them a popular choice. A typical setup might include two to four buttons, with each assigned specific functions such as navigating menus or confirming transactions. Touchscreens offer a more modern approach but might introduce complexity in terms of security. Rotary encoders, though less common, provide precise control and can be an excellent choice for specific use cases.
When designing the user interface, it’s essential to balance ease of use with security. Implementing PIN entry or biometric authentication can significantly enhance security. Additionally, consider feedback mechanisms such as LEDs or vibration motors to provide users with confirmation of their actions. Ensuring that the interface is responsive and provides clear feedback can prevent user errors and enhance overall security.
In conclusion, a well-configured user interface is fundamental to the functionality and security of a DIY crypto hardware wallet. By carefully selecting and setting up the screen and input methods, and adhering to best practices, you can create a user-friendly, secure, and efficient hardware wallet.
Implementing Security Measures
Setting up a DIY crypto hardware wallet isn’t just about assembling the hardware; it also involves implementing robust security measures to protect the wallet from various threats. Physical security and software security are two critical components that must be meticulously addressed to ensure the safety of your digital assets.
Firstly, physical security is paramount. Using tamper-evident seals can help detect any unauthorized attempts to access the hardware. These seals should be placed on all entry points of the wallet, such as the case and screws. If any seal is found broken, it should be a red flag indicating potential tampering. Additionally, storing your hardware wallet in a secure, undisclosed location adds another layer of protection.
On the software side, encryption is essential. Ensure that all sensitive data stored on the wallet is encrypted using strong cryptographic algorithms. This makes it significantly more challenging for unauthorized parties to access your information. Implementing a secure boot process is also crucial; it ensures that the device only runs trusted software, thereby preventing malicious code from executing on the hardware. Regularly updating the firmware is another critical step. Firmware updates often contain patches for security vulnerabilities, so staying current with the latest versions is essential in maintaining the wallet’s security.
Moreover, it’s vital to regularly review and update your security protocols. Conduct periodic security audits to identify and rectify any weaknesses in your setup. Keeping abreast of the latest security trends and threats can also help you adapt your measures accordingly. By thoroughly implementing these physical and software security measures, you can significantly enhance the safety of your DIY crypto hardware wallet, ensuring that your digital assets remain secure.
Testing and Troubleshooting
Once your DIY crypto hardware wallet is assembled, it is crucial to verify its functionality and security. Testing the hardware wallet ensures that it operates correctly and can securely manage your cryptocurrency assets. Begin by connecting the hardware wallet to your computer and installing the necessary software or firmware. Most hardware wallets come with a companion application that allows you to manage your funds and perform transactions.
First, perform a basic functionality test by checking if the device powers on and is recognized by your computer. If the device is not detected, ensure that all connections are secure, and the necessary drivers are installed. Refer to the manufacturer’s troubleshooting guide for specific steps related to your hardware wallet model.
Next, generate a new wallet and take note of the recovery seed phrase. This phrase is critical for recovering your wallet in case of loss or damage. Store it securely and do not share it with anyone. Verify the integrity of the wallet by performing test transactions. Send a small amount of cryptocurrency to and from the wallet to ensure that it can send and receive funds correctly. Monitor the transaction confirmations on the blockchain to verify successful transfers.
Common issues that might arise include connectivity problems, software incompatibility, or incorrect firmware installation. If you encounter connectivity issues, try using a different USB cable or port. For software-related problems, ensure that you have the latest version of the wallet application and firmware. Reinstall the software if necessary. If the wallet fails to function after these steps, consider performing a factory reset and setting up the wallet from scratch.
To check for vulnerabilities, regularly update the firmware and software to the latest versions, as updates often include security patches. Additionally, run security audits using tools provided by the hardware wallet manufacturer. Engaging with the cryptocurrency community and staying informed about potential security threats can also help safeguard your assets.
Maintaining and Updating Your Hardware Wallet
Ensuring the long-term reliability and security of your DIY crypto hardware wallet requires a systematic approach to maintenance and updates. Your hardware wallet’s software and firmware must be kept current to defend against emerging threats and vulnerabilities. Regularly check for updates from trusted sources, and follow the manufacturer’s instructions carefully when performing these updates.
In addition to software and firmware updates, it is crucial to back up your cryptographic keys regularly. A secure backup ensures that you can still access your funds in case of device failure or loss. Store these backups in a secure, offline location, preferably in multiple copies and formats, such as on paper or encrypted USB drives. This redundancy provides an extra layer of security and peace of mind.
Stay informed about security advisories related to your hardware wallet model. Subscribe to newsletters or follow trusted security forums where updates and potential vulnerabilities are discussed. This proactive approach helps you react swiftly to any threats, maintaining the integrity of your crypto assets.
When your hardware wallet is not in use, store it in a secure environment to prevent physical tampering. A safe or a locked drawer offers basic protection, while a more sophisticated setup might include a Faraday cage to guard against electromagnetic interference. Additionally, ensure that the storage location is free from extreme temperatures and moisture, which could damage electronic components.
Over time, your hardware wallet might require repairs or component replacements. When this happens, use only original parts or those recommended by the manufacturer to ensure compatibility and maintain security standards. If you’re unsure about performing repairs yourself, seek assistance from a professional to avoid inadvertently compromising your wallet’s security.
By following these guidelines for maintaining and updating your DIY crypto hardware wallet, you can significantly reduce the risk of losing access to your digital assets and enhance the overall security of your cryptocurrency holdings.